
Views: 0 Author: Site Editor Publish Time: 2026-07-23 Origin: Site


A minor component failing can trigger massive operational losses across a facility. Unplanned downtime, environmental hazards, and severe equipment damage often follow catastrophic seal failure. Relying on reactive maintenance ignores the root causes of degradation. Replacing seals only after a leak occurs guarantees compounding mechanical failures and recurring replacement costs. Maintenance teams need a systematic, evidence-based approach to diagnose issues before total failure happens. This comprehensive O-Ring wear,inspection guide provides a definitive framework for identifying wear patterns and determining root causes. You will learn how to accurately diagnose damage, select the correct material, and implement hardware upgrades that prevent recurring leaks. We focus on practical field diagnostics rather than theoretical guesswork, ensuring your next seal installation lasts.
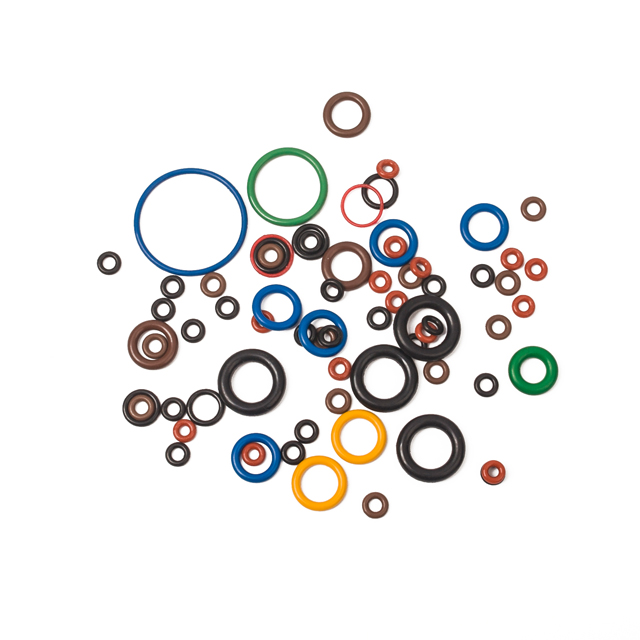
Visual inspection is only the first step; physical and dimensional testing are mandatory to detect early-stage compression set, embrittlement, and chemical attack.
Many failure modes present identical symptoms (e.g., installation cuts vs. high-pressure extrusion); a forensic diagnostic approach is required to avoid misdiagnosis.
Accurately matching specific failure modes (e.g., extrusion, explosive decompression, thermal degradation) to their symptoms prevents misdiagnosis and dictates the exact material upgrade required.
Upgrading an O-ring material without addressing hardware tolerances or gland design often results in repeated failures.
Implementing a standardized inspection and root-cause analysis protocol reduces false failure diagnoses and optimizes long-term maintenance budgets.
Table of Contents
Catastrophic seal failure extends far beyond the cost of a replacement elastomer. Fluid loss creates immediate safety hazards on the facility floor, often leading to slip-and-fall incidents. Pressure drops stall production lines and compromise hydraulic system efficiency. When a hydraulic cylinder loses pressure due to a bypassed seal, the equipment drifts, potentially dropping heavy loads. Environmental leaks trigger strict regulatory compliance issues and heavy fines from environmental protection agencies. A successful maintenance program maximizes Mean Time Between Failures (MTBF). Accurate wear identification makes this possible. By understanding exactly how and why a seal degrades, maintenance teams can implement permanent corrective actions rather than temporary fixes. You stop replacing the same seal every month and start engineering out the failure point.
The traditional run-to-failure model drains maintenance budgets and guarantees unpredictable downtime. Waiting for a visible leak means the internal damage has already reached a critical state. Scheduled, proactive inspections catch issues early. Identifying early signs of O-Ring wear informs smarter purchasing decisions for replacement elastomers. Facility managers can transition from constantly fighting fires to strategically upgrading components based on empirical wear data. When you pull a pump offline for scheduled service, examining the seals provides a clear picture of the internal operating environment. This data allows you to adjust maintenance intervals, change fluid types, or upgrade seal materials before a catastrophic blowout occurs.
Visual examination requires adequate lighting and magnification. Relying on the naked eye in a dimly lit plant environment leads to missed defects. Look closely at the surface for blisters, pocks, pits, and perforations. Examine the top, bottom, and sides of the seal independently. Identify any ridges, tears, or skiving. These surface anomalies often indicate specific environmental stressors. Use a 10x jeweler's loupe or a digital microscope to detect fine hairline cracks and surface micro-tears. Microscopic damage often precedes massive structural failure. When inspecting, clean the seal gently with a lint-free cloth and a mild, compatible solvent to remove residual system fluids that might hide surface defects.
Visual checks often miss internal structural changes. Tactile testing reveals elastomer flexibility and resilience. Bend and flex the seal gently. Feel for stiff sections or brittle areas. Hardening, embrittlement, and loss of tensile strength indicate thermal or chemical degradation. A healthy elastomer should return to its original shape immediately after stretching. If the material feels tacky, overly soft, or crumbles under pressure, it has lost its physical integrity. You can also use a Shore A durometer gauge to measure the hardness of the used seal and compare it against the specifications of a new seal. A significant increase in durometer hardness points directly to heat aging or specific types of chemical attack.
Accurate measurement separates subjective observation from objective data. Use calibrated digital calipers and micrometers to measure cross-section reduction. Contrast a brand-new, perfectly round cross-section with a worn, deformed, or out-of-round profile. Measure the seal at multiple points around its circumference to check for uneven wear. Uneven wear often indicates hardware misalignment or side-loading on a cylinder rod. Measure for flattening across the sealing surface. Look closely for circumferential splits hidden within those flattened surfaces, which indicate severe compression stress. For large diameter seals, use a pi tape to measure the inside diameter accurately, checking for stretch or shrinkage caused by fluid incompatibility.
The immersion test simulates operating conditions to reveal hidden vulnerabilities. Immerse the O-ring in a fluid container filled with the system media or cleaning agents. Monitor the setup for micro-leaks, chemical swelling, or volume changes over a 48 to 72-hour period. Maintain the fluid at the actual operating temperature using a heated bath, as heat accelerates chemical reactions. Observe any bubble release, which indicates gas permeation or internal voiding. Watch for material degradation, color changes, or fluid cloudiness. Measure the volume and weight of the seal before and after the test. A volume swell exceeding 10% generally indicates that the elastomer is incompatible with the fluid and will fail in service.
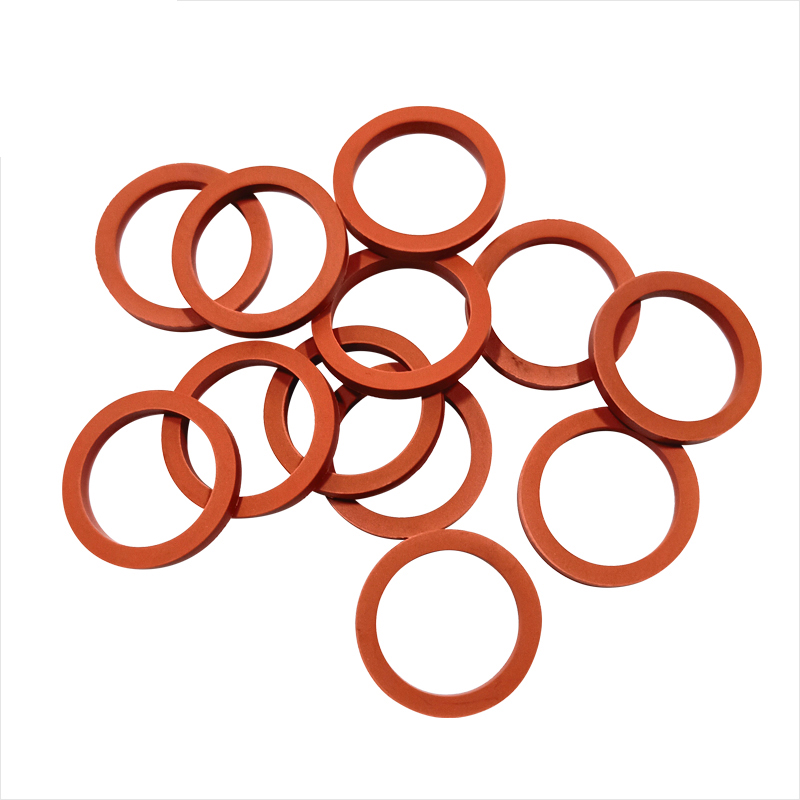
Compression set manifests as a permanent loss of the circular cross-section. The O-ring fails to return to its original shape and loses its perfectly round profile. It develops flat surfaces where it contacted the hardware. Once an elastomer takes a set, it can no longer maintain sealing force against the hardware surfaces, leading to immediate leakage when system pressure drops or temperature fluctuates.
Excessive operating temperatures that break down the polymer cross-links.
Improper material selection lacking inherent compression-set resistance.
Over-compression during initial installation due to incorrect gland depth.
Incomplete curing of the elastomer during the manufacturing process.
Extrusion leaves the seal with frilly edges and a chewed or chipped appearance. This damage typically occurs on the low-pressure side of the gland. High system pressure forces the elastomer into the clearance gap between mating hardware surfaces. As pressure cycles, the material gets pinched and torn away.
Excessive clearance gaps between the piston and the cylinder bore.
System pressure spikes exceeding the material's physical limits.
Using an elastomer with a durometer that is too soft for the application.
Failing to install necessary anti-extrusion backup rings in high-pressure systems.
Hardware expansion due to high temperatures, which widens the extrusion gap.
Chemical attack drastically alters the physical properties of the elastomer. Symptoms include surface blisters, pocks, increased dimensions from swelling, or extreme softening and tackiness. The material may lose all tensile strength and easily pull apart. In some cases, the chemical extracts the plasticizers, causing the seal to shrink and harden instead of swelling.
Direct chemical incompatibility between the chosen elastomer and the system media.
Exposure to aggressive cleaning agents used during washdown procedures.
Incompatible assembly lubricants applied during installation.
Changes in the system fluid formulation or the addition of aftermarket additives.
Thermal degradation destroys the polymer chains within the elastomer. Symptoms include radial cracking, severe hardening, and a shiny, glazed surface appearance. The seal loses all flexibility and may snap when bent. Prolonged exposure to high heat bakes the plasticizers out of the rubber, leaving a brittle shell that cannot track hardware movement.
Operating temperatures that exceed the maximum thermal limits of the chosen material.
Localized hot spots within the equipment, such as near exhaust manifolds.
Frictional heat generated by high-speed dynamic cycling without adequate lubrication.
Rapid thermal cycling that stresses the polymer structure.
Explosive decompression occurs in high-pressure gas applications. Symptoms include deep internal fissures, surface blisters, and random ruptures across the seal. Gas permeates the elastomer under high pressure. When the system experiences a rapid pressure drop, the trapped gas expands violently, tearing the material from the inside out. This failure mode often leaves the external circular shape intact while destroying the internal structure.
Rapid depressurization of gas systems.
Using elastomers with low shear modulus and poor tear strength.
Selecting materials that are highly permeable to the specific system gas.
Failing to specify Rapid Gas Decompression (RGD) resistant compounds.
Installation damage happens before the equipment even starts running. Symptoms include clean cuts, skiving, notches, or "barber pole" twisting on the surface. This damage creates immediate leak paths. The seal will fail during the initial pressure test or shortly after startup.
Passing the O-ring over sharp threads or splines without protective sleeves.
Lack of proper lubrication, causing the seal to roll and twist in the groove.
Improper gland design or incorrect sizing that forces the seal into spaces that shear the outer layers.
Using sharp metal tools like screwdrivers to force the seal into position.
Pinching the seal between mating hardware faces during assembly.
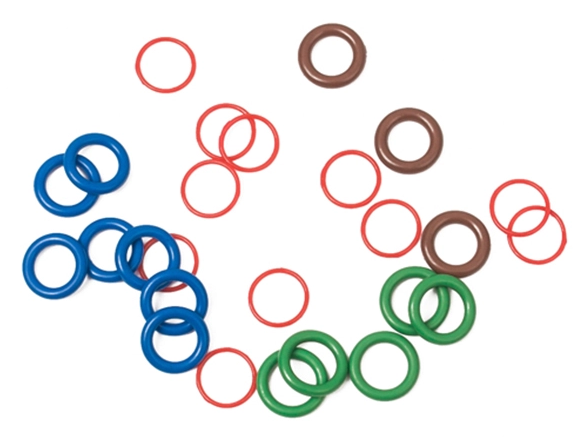
Differentiating between extrusion and installation damage requires careful observation of the cut edges. Clean, mechanical cuts with smooth surfaces indicate installation damage. The seal was likely sliced by sharp hardware or a poorly machined chamfer. Conversely, high-pressure extrusion creates chewed, frilly, and ragged edges. Extrusion damage aligns specifically with the low-pressure clearance gap, whereas installation cuts can appear anywhere on the seal, often matching the pitch of a threaded component it was dragged across.
Heat and chemicals both destroy elastomers, but they leave different signatures. Thermal embrittlement induces severe hardening, a shiny surface, and radial cracking when flexed. The material becomes brittle and snaps. Chemical degradation typically induces swelling, extreme softening, tackiness, or superficial blistering. While some chemicals can extract plasticizers and cause hardening, thermal damage rarely causes the massive volume swelling associated with fluid incompatibility.
Failure Mode | Primary Symptoms | Key Differentiator | Common Root Cause |
|---|---|---|---|
Extrusion | Chewed, ragged, frilly edges | Damage localized to low-pressure side | High pressure, large clearance gaps |
Installation Cuts | Clean slices, skiving, notches | Smooth cut surfaces, random locations | Sharp threads, lack of lubrication |
Thermal Embrittlement | Hardening, radial cracking, shiny surface | Loss of flexibility, snaps when bent | Excessive operating temperatures |
Chemical Attack | Swelling, softening, tackiness, blisters | Dimensional increase, gummy texture | Fluid incompatibility |
Compression Set | Flat surfaces, loss of roundness | Permanent deformation matching the gland | High heat, over-compression |
Explosive Decompression | Internal fissures, surface blisters | Damage originates from inside the material | Rapid pressure drops in gas systems |
Selecting the right replacement material requires evaluating specific wear data. Nitrile (Buna-N) offers excellent oil resistance but fails under high heat. Viton (FKM) handles higher temperatures and broader chemical exposures, making it a standard upgrade for industrial hydraulics. FFKM provides ultimate chemical and thermal resistance for extreme environments, such as chemical processing plants. Always evaluate the trade-offs between temperature resistance, chemical compatibility, and physical durability. Select compression-set-resistant materials for static applications experiencing heavy clamping forces. Do not assume a harder material is always better; a high-durometer seal might resist extrusion but fail to seal low-pressure fluids effectively.
Changing the elastomer material cannot fix poor hardware design. When extrusion occurs repeatedly, you must tighten hardware tolerances to reduce clearance gaps. Improve surface finishes to prevent abrasive wear during dynamic cycling. A surface finish that is too rough acts like sandpaper, while a finish that is too smooth prevents lubrication retention. Integrate rigid backup rings made of PTFE or PEEK to support the elastomer under high pressure. Modifying the gland design, such as increasing the groove width to accommodate chemical swell, often provides a more permanent solution than simply installing a different rubber compound.
Premium elastomers require a higher initial investment but drastically improve operational lifespan. Spending more on an advanced material like FFKM is justified if it eliminates recurring extrusion or chemical attack in critical applications. Reducing maintenance frequency, preventing fluid loss, and maximizing equipment uptime easily offset the higher purchase price of high-performance seals. Focus on long-term reliability rather than short-term component costs. When a single pump failure shuts down an entire production line, the cost of the seal becomes irrelevant compared to the value of uninterrupted operation.
Treating the symptom rather than the cause guarantees repeated failure. Replacing a flattened O-ring with the exact same material ignores the thermal overload that caused the compression set. Confusing similar failure modes leads to incorrect corrective actions. For example, treating chemical swelling as thermal expansion might lead to machining a larger gland, which then causes extrusion when the system pressurizes. Accurate diagnosis remains the foundation of effective maintenance. You must gather all operating parameters, including peak temperatures, pressure spikes, and fluid chemistry, before selecting a replacement.
Improper removal and installation techniques introduce immediate risks. Using screwdrivers, metal picks, or sharp blades to pry seals out of grooves causes severe gland scratching. These scratches create leak paths that no new seal can fill. Forcing a dry seal into a tight gland causes immediate twisting and skiving. Leaving old rubber residue or dirt in the groove prevents the new seal from seating properly. Poor handling practices negate the benefits of premium replacement materials and guarantee a short lifespan for the new component.
Implement a strict framework for seal replacement. Use brass or plastic O-ring picks for safe removal. Clean the gland thoroughly with approved solvents to remove debris and degraded rubber. Inspect the bare metal groove for scratches or pitting before installing the new seal. Select proper lubrication that is compatible with both the elastomer and the system media. Verify installation practices by ensuring the seal seats evenly without twisting. Standardized protocols prevent human error and ensure reliable sealing performance across all maintenance shifts.
Regular O-ring inspection is one of the most effective ways to prevent unexpected seal failures and improve equipment reliability. By accurately identifying wear patterns, selecting suitable materials, and addressing hardware issues, manufacturers can extend seal life, reduce downtime, and optimize maintenance costs.
Choosing an experienced sealing partner is equally important for long-term performance. Cixi Lixu specializes in manufacturing high-quality O-Rings, customized sealing solutions, and precision rubber components for industrial, hydraulic, pneumatic, and automotive applications. With advanced manufacturing technology, strict quality control, and extensive industry expertise, the company helps customers improve sealing reliability and maximize equipment performance.
Audit your current seal inventory to ensure materials match the operating conditions of your equipment.
Consult chemical compatibility charts for your specific system fluids and cleaning agents before selecting replacement elastomers.
Implement a standardized inspection checklist for maintenance personnel to document wear patterns accurately.
Equip your maintenance team with proper brass or plastic removal tools to prevent hardware damage.
A: A flattened O-ring indicates compression set. The elastomer has lost its ability to return to its original circular shape. This usually results from excessive operating temperatures, over-compression during installation, or using a material with poor compression-set resistance.
A: Chemical damage typically manifests as swelling, extreme softening, or tackiness. You may also observe surface blisters, pocks, pits, or a complete loss of physical integrity where the material easily crumbles or tears under slight tension.
A: Circumferential splits occur due to a combination of severe flattening (compression set) and environmental stress cracking. As the material flattens and hardens under heat or chemical exposure, the internal stress causes the seal to split along the flattened surface.
A: Prevent extrusion by reducing clearance gaps between mating hardware, improving hardware tolerances, or using a harder elastomer compound. Integrating anti-extrusion backup rings provides essential structural support on the low-pressure side of the gland.
A: No. Never reuse an O-ring after removal. Even if it looks perfectly round, it has microscopic wear, internal stress history, and slight deformation. Reusing seals drastically increases the risk of unpredictable leaks and catastrophic failure.
A: Thermal degradation causes the entire seal to harden, crack radially, and become brittle due to excessive heat. Extrusion involves physical chipping, nibbling, and frilly edges localized on the low-pressure side, caused by high pressure forcing the material into clearance gaps.


